


![]()
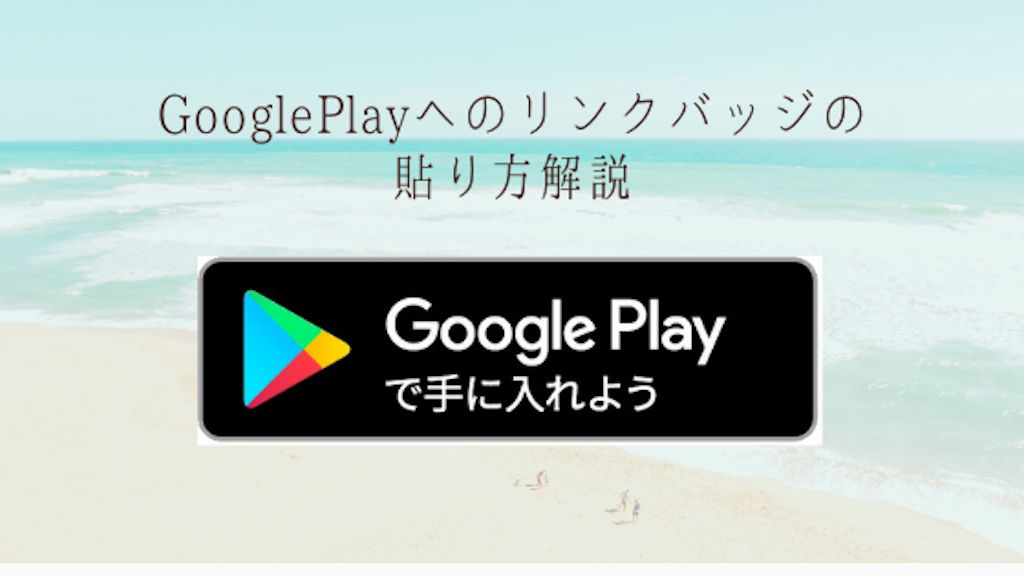
Google Playへのバッジ(リンクバッジ)とは上にあるような、Google PlayにリンクするGoogle公式のボタンのことです。通常のテキストリンクより、カッコよくて、これを使うと記事自体の信頼性が上がるような気がしませんか。ここではこのバッジをWordPressで作ったブログ記事への貼り方を解説していきます。とても簡単ですので、トライしてみて下さい。また、最後のまとめの章では、Apple Storeへのリンクバッジの貼り方説明の記事へのリンクもありますので、合わせて参照してくださいね。
バッジの貼り方
まずは上のリンクからGoogle Playのアプリのサイトに移ろう。
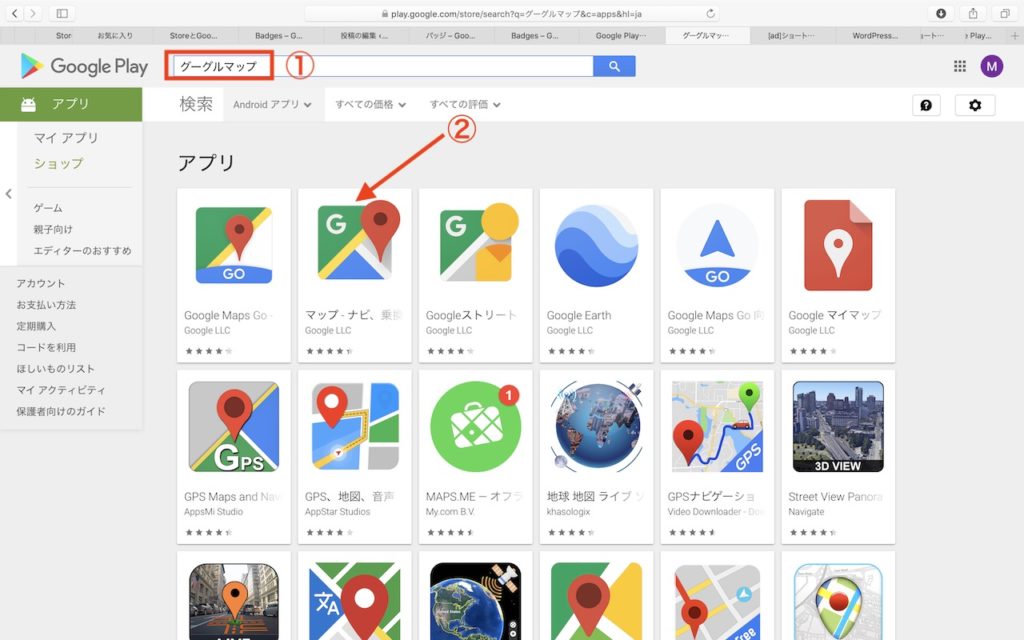
検索窓①に目的のアプリの名前を入れて、アプリを検索しよう。ここでは例としてグーグルマップを使っているよ。検索結果として、目的のアプリ②が表示されたら、クリックしよう。
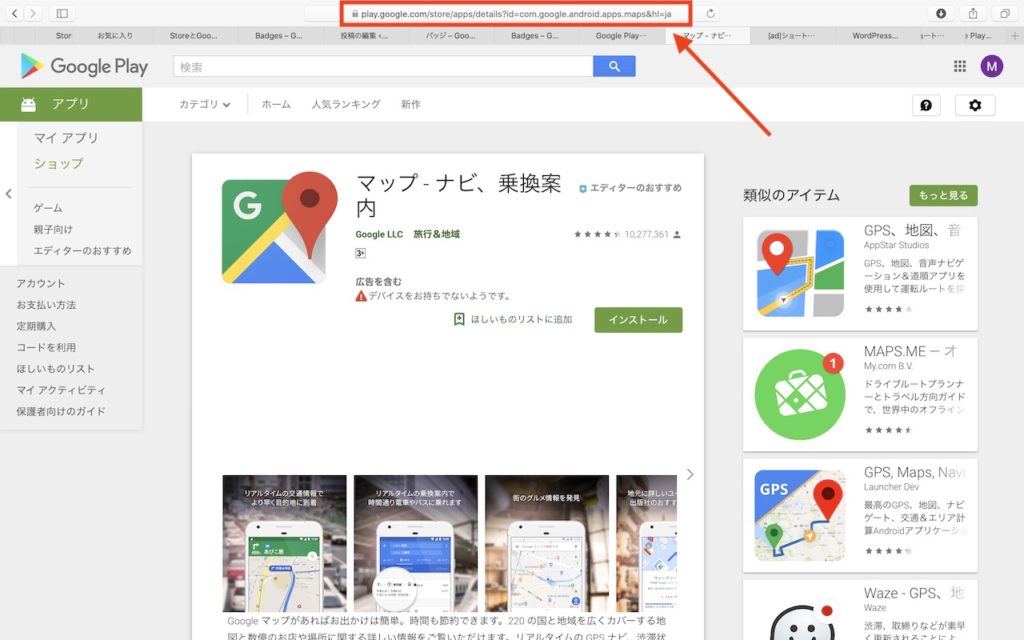
目的のアプリのページのURL(矢印の部分)をコピーしよう。

次に、上のリンクからGoogleのバッジを取得するサイトに移るよ。
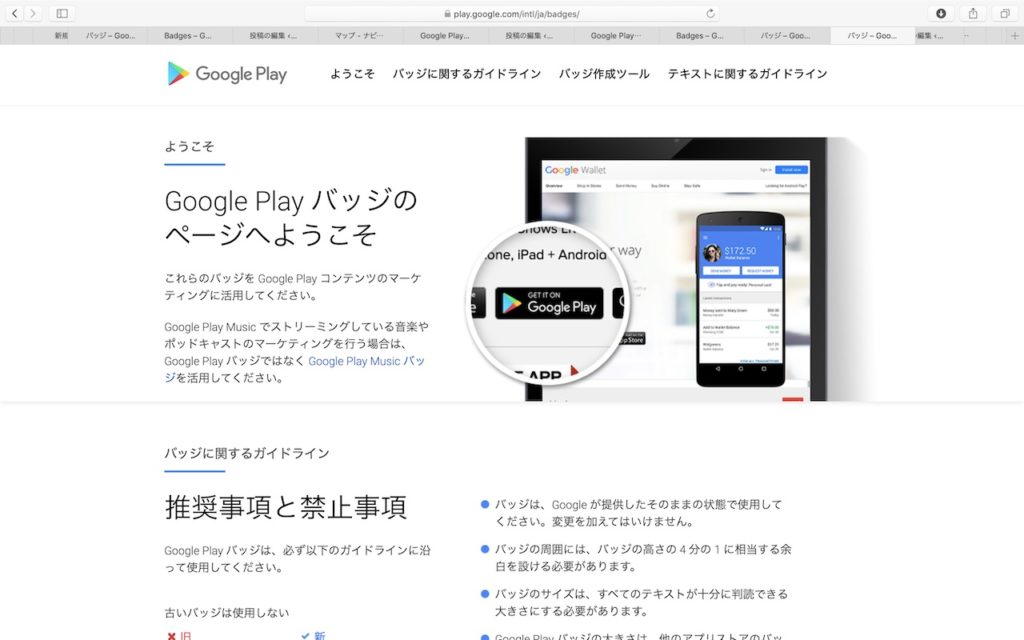
リンク後、上のスクショのサイトに移るので、スクロールして下に移ろう。
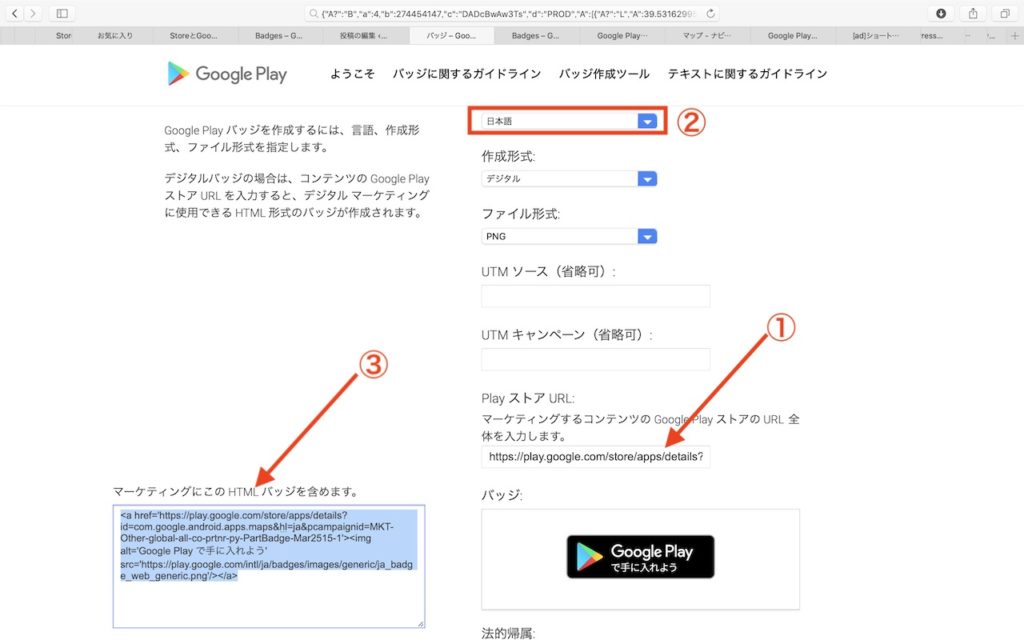
Google PlayのサイトでコピーしたURLを「Play ストア URL」①へペーストして、②が「日本語」になっていることを確認して、③のコードをコピーしよう。
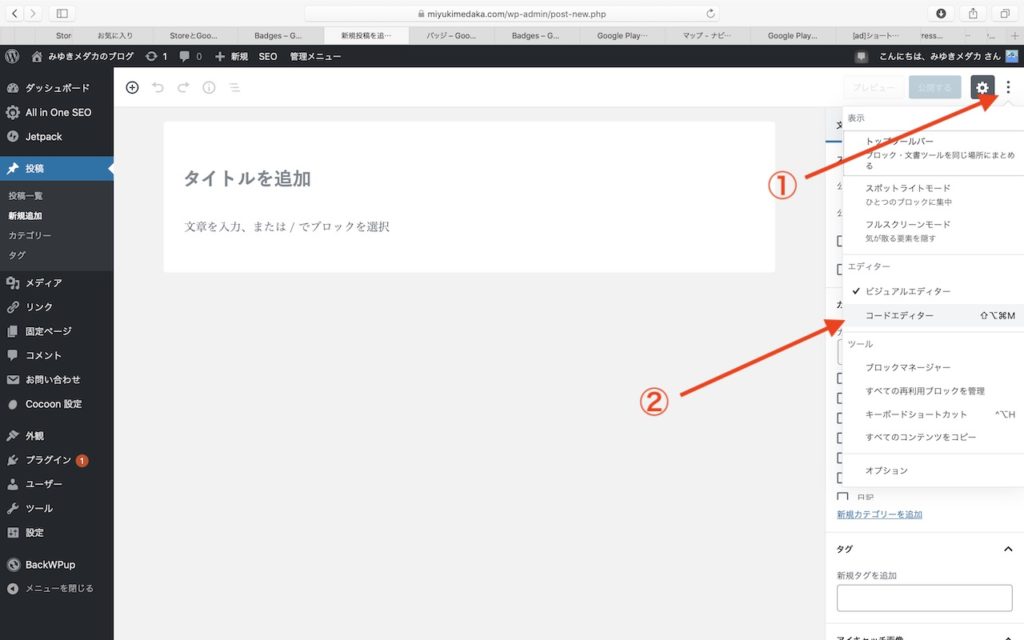
最後にWordPressのバッジを貼りたい記事の投稿ページに移って、①のボタンをクリックして、プルダウンメニューからコードエディター②をクリックしよう。
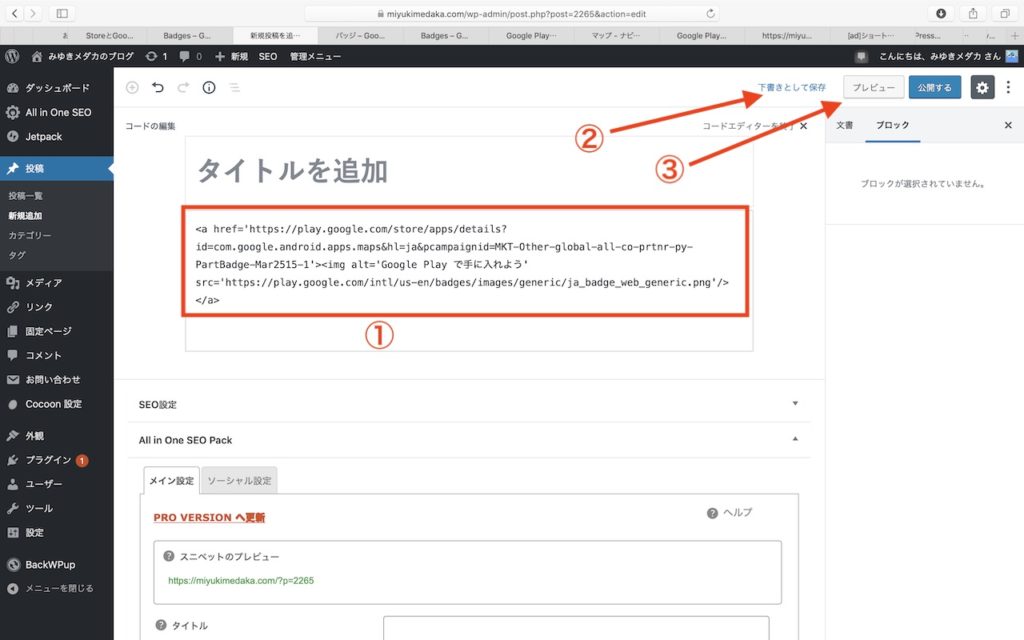
そして、①の部分にバッジのサイトからコピーしたコードをペーストして、「下書きとして保存」②をクリックし、「プレビュー」③をクリックして表示画面を見てみよう。
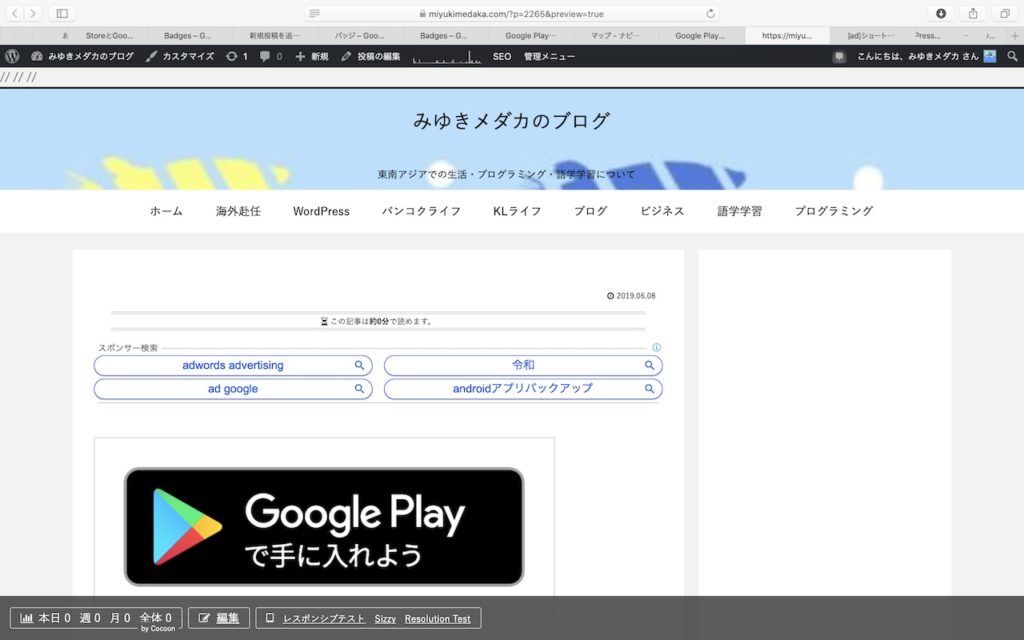
ちゃんと貼れているけど、大きすぎるよ。
そうだね。確かにブログで使うには大きすぎるね。だけど心配無用だよ。下のスクショにあるように、アンカーの閉じタグ”</a>"の前に、幅 width、高さ heightをピクセル単位で指定すれば(例:width="150" height="45")大きさは自由に調整できるよ。

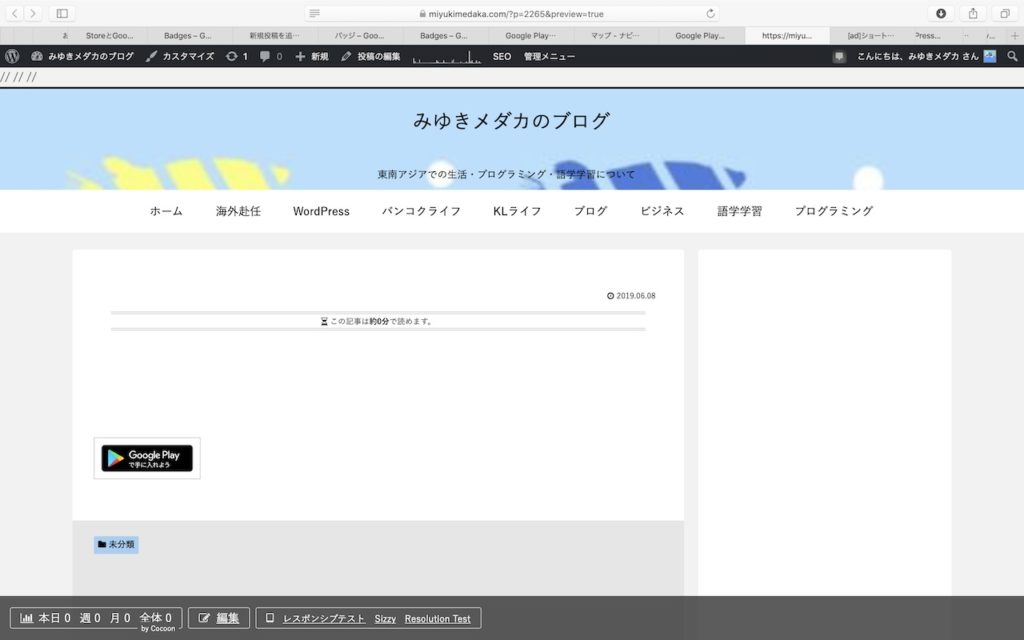
ほんとだね。サイズを変更できるね。記事に合わせて、数字を変えてサイズを調整して見てね。
まとめ
いかがでしたでしょうか。思ったより簡単だったのではと思います。表示サイズの変更に一部のコードの追記が必要ですが、これはこれで、HTML、CSS勉強への第一歩にするのも一考かと思います。
また、別記事で"App Store"へのリンクバッチの貼り方も解説していますので、良かったら下のリンクから覗いていって見てくださいね。
それでは、最後までお付き合いありがとうございました。さようなら。


コメント